Happy Labor Day, and Happy Birthday to me! Yes, it’s my birthday today and so you guessed it, I’m spending the day doing what I love, stamping!!!
I’m so lucky because I signed up to be a demonstrator under Kimberly Van Diepen. She has a huge group of demonstrators, and she’s great at encouraging all of us to share ideas and inspire each other. I’ve always thought that I’m more creative when I’m surrounded by other creative people, and so my mind is often on overdrive with all the inspiration I get from this group.
This month, Kimberly is having 10 challenges, and we can win prizes if we complete them all. So, I’m all in for winning prizes. Plus, it’s fun to share, and the challenges encourage me to think outside the box, do things I normally wouldn’t think of, and be a better demonstrator to inspire all of you … my loyal, wonderful customers.

This first challenge is a color challenge. We were suppose to create a “simple” Christmas card using at least three of the following colors. I say simple in quotes, because what started out to be a simple concept really didn’t end up being a “simple” card. Sorry about that. It’s not that it’s that difficult to re-create this card, it’s just that you would need a little experience to be able to do it.

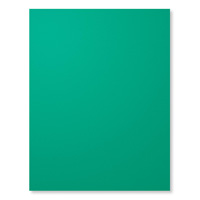
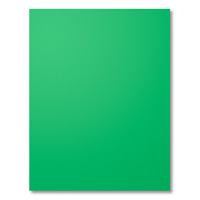
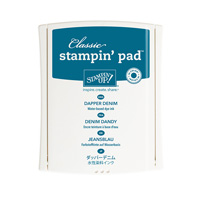
I used Dapper Denim to watercolor the background, and Delightful Dijon, Emerald Envy, and Early Espresso cardstock on my card, so I really used four of the challenge colors. I also added gold (glimmer paper and embossing), Garden Green, and Cucumber Crush to the mix.

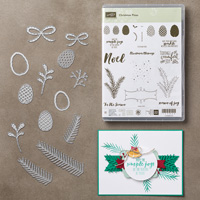
My original idea was to have a nice clean card, mostly white, with the focus of attention on the Christmas Pines stamps and Pretty Pines Thinlits Dies. These two products come in a bundle for 10% off in the new Holiday Catalog. I do think I accomplished that … again it’s just that I ended up adding embossing, watercoloring, and two-step stamping into the mix.
I absolutely LOVE the Christmas Pines and Pretty Pines bundle. It’s a gorgeous stamp set, including lovely greetings, two sizes of multiple layer pine cones, as well as a really pretty label and pine branches. And, the Pretty Pines Thinlits Dies are right up there as well, including multiple sizes and shapes of branches, pine cones, and bows. There’s A LOT you could do with this set, and I look forward to posting many more ideas.

For my background, I stamped the snowflakes on watercolor paper with Versamark ink and embossed them with White Stampin’ Emboss Powder. Then, I watercolored with a light wash of Dapper Denim. For the areas where I embossed in white, the ink resists color and stays white, thus looking like snow.

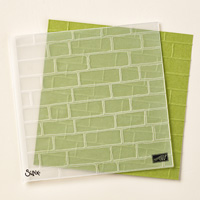
I created the brick background in a snap using the Brick Wall Textured Impression Embossing Folder. I simply sandwiched a layer of Whisper White paper inside and ran it through my Big Shot with only the Platform that comes with the Big Shot (no adapter shim.)
The Christmas Pines are also easy to cut. I used three colors of paper to give them variety and depth. To cut them out, I used the Precision Base Plate and Die Brush, since they are intricate dies. You don’t have to have this extra equipment, but when you do, it makes life a lot easier. If you’re still starting out, and haven’t purchased these extra items, I would suggest sandwiching a piece of wax paper between the cardstock and Thinlits. It makes removing the pieces much, much easier.
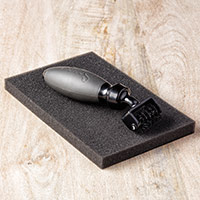
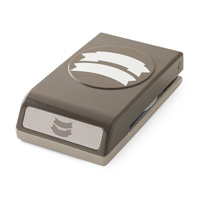
For the label, all the greetings from Christmas Pines were too large to fit on the Banner Duet Punch, and I really wanted something small. So I ended up using a greeting from the Oh, What Fun stamp set. Since it’s a photopolymer stamp, I could bend the words to fit on the banner label. (To make the stamp stay put, I use a little bit of Snail adhesive on my block.)
The hardest part of this card was the pine cones, and even those weren’t that hard once I figured out what to do. I stamped the pine cone with Early Espresso ink on Delightful Dijon cardstock. Then, I used a Stamp-A-Ma-Jig to align the smaller pine cone stamp over the first one and emboss in gold. Tip: Use an Embossing Buddy to wipe over the stamped image before adding the gold embossing. Otherwise, the gold Stampin’ Emboss Powder will stick to everything and you won’t be happy. I found that if I aligned the second stamp just a little low, I could see more of the Early Espresso stamp and the pine cones turned out looking really nice.

Supplies used on my card: